Rewards
Project Intro
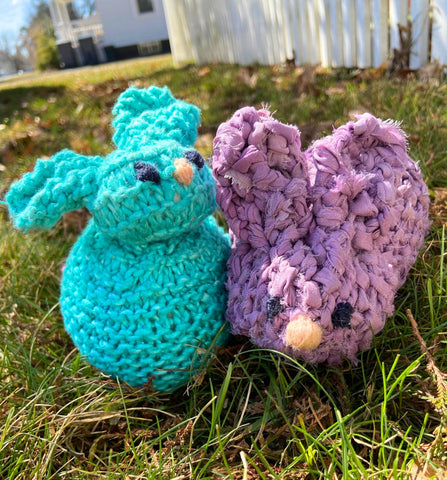
Are you looking for a snuggly basket stuffer for Easter? We hop you fall in love with this super cute (and easy!) Bunny Amigurumi! This bunny is the perfect Spring craft! 🐰
Pattern Information
-
Designed by: Shannon Roberts
-
Skill level: Beginner
-
Finished dimensions: 4 x 4 inches
-
Gauge: 16 stitches, 20 rows = 4 inches
Tools and Materials
Here's What You'll Need:
-
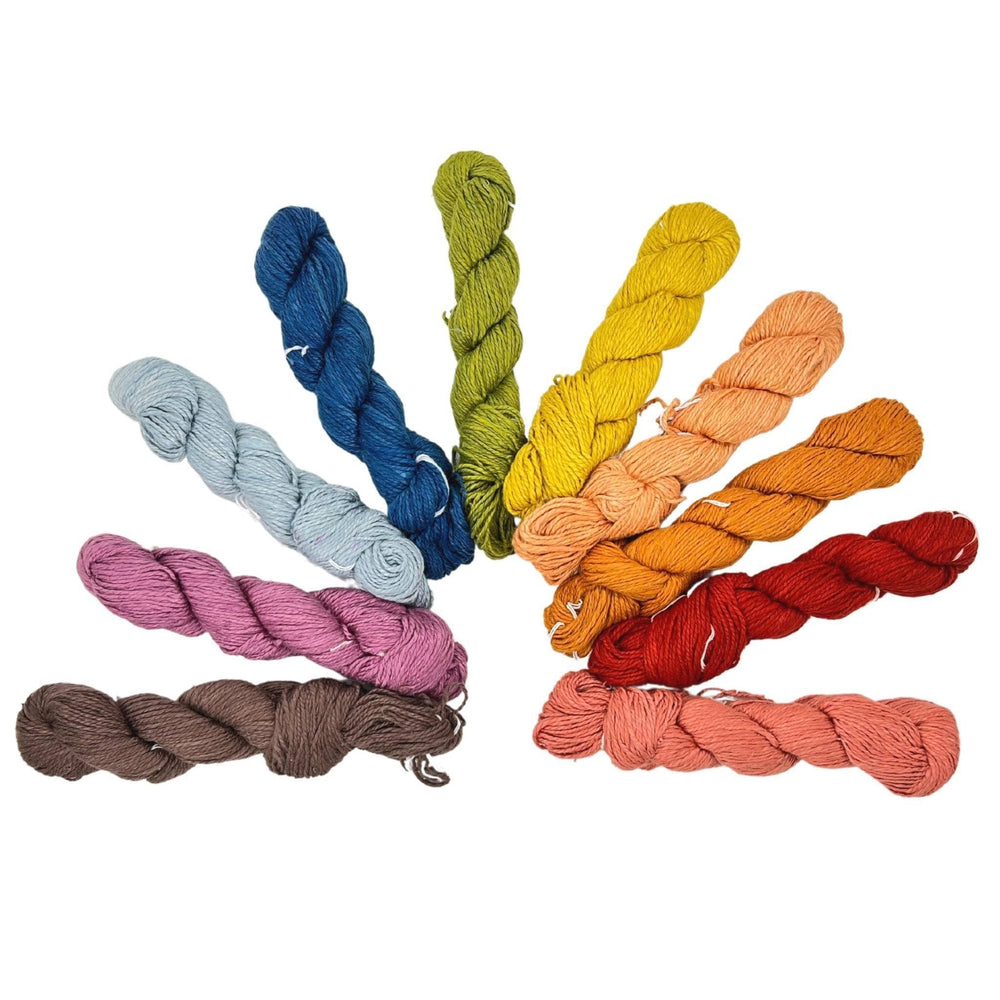
1 Skein of Darn Good Yarn Silk Roving Worsted Weight (We used Tropical Sea)
-
Knitting Needles: US Size 8
-
Bonus: Left over Silk Roving Worsted Weight for the tail (if you're feeling fun!)
-
Notions:Yarn or tapestry needle
-
Embroidery thread (for eyes and nose)
-
Fiber stuffing
The Pattern
Let's Get Started... err hop to it! 🐣
Step 1: Knit Square
The bunny is formed out of one knit square
- Using US 8 needles, cast on 32 stitches
- Knit all rows (garter stitch*) until you reach an 8 x 8 inch square**
- Line up the edges as well as the corners to be sure before casting off
- Weave in loose ends
*I have made bunnies out of stockinette and seed stitch knitted squares. It’s fun to experiment!
**I ended up with an 8 x 8 inch square, but everyone’s gauge is different! You can make your square larger if you would like.
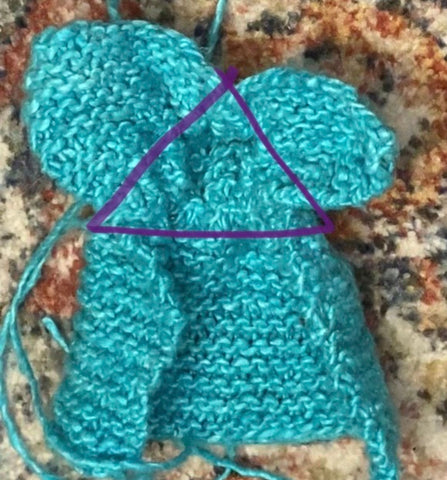
Step 2: Assembling the Bunny’s Head
Now that you’ve knitted a square, it’s time to assemble the bunny!
- Using a yarn needle, make a triangle-shaped running stitch (see photo) - you can use either yarn or embroidery thread for this part, just make sure it’s the same color as the square!
- Once you’ve stitched your triangle shape, grab the ends and begin to cinch. The bunny’s head is forming!
- Stuff with fiber fill and stitch closed
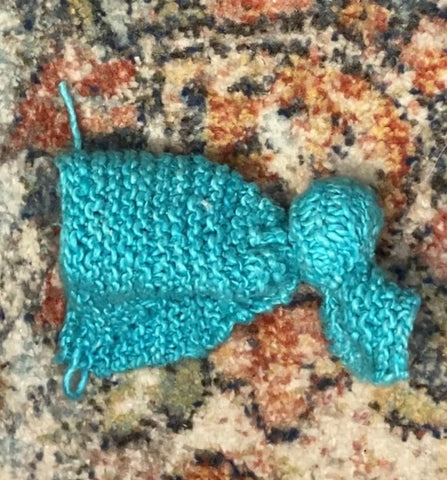
Step 3: Finishing the Bunny’s Body
Now it’s time to make the bunny’s body. You will stitch the remaining edges together and stuff with fiber fill to form the bunny’s back and bottom.

Step 4: The Facial Features and Tail
Almost done! Using a tapestry needle, embroider the eyes and a nose for the bunny’s face.
I used a complementary yarn Mystical Clear Quartz to make a pom pom tail for my bunny, but it would be just as cute all the same color. Another great tail option is a DGY Faux Fur Pom Pom.
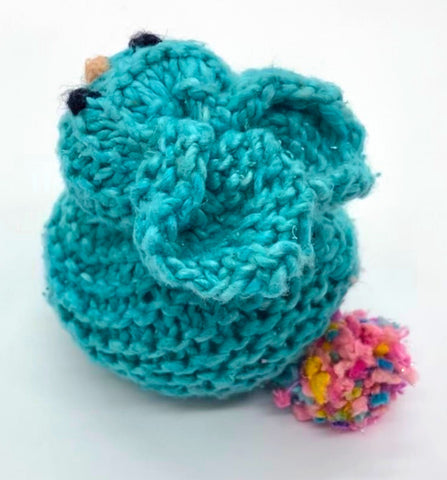
Now it’s time to enjoy your cute little bunny! My daughter loved the first bunny so much that I made a second to go along with it! 🐰🐰