Written by Kate Curry
Who doesn't love a good friendship bracelet? If you need a little bit of inspiration for your next gift for your best friend, we have two really easy friendship bracelet crafts for you to try!
Easy Yarn Friendship Bracelet
Step 1

Gather Materials
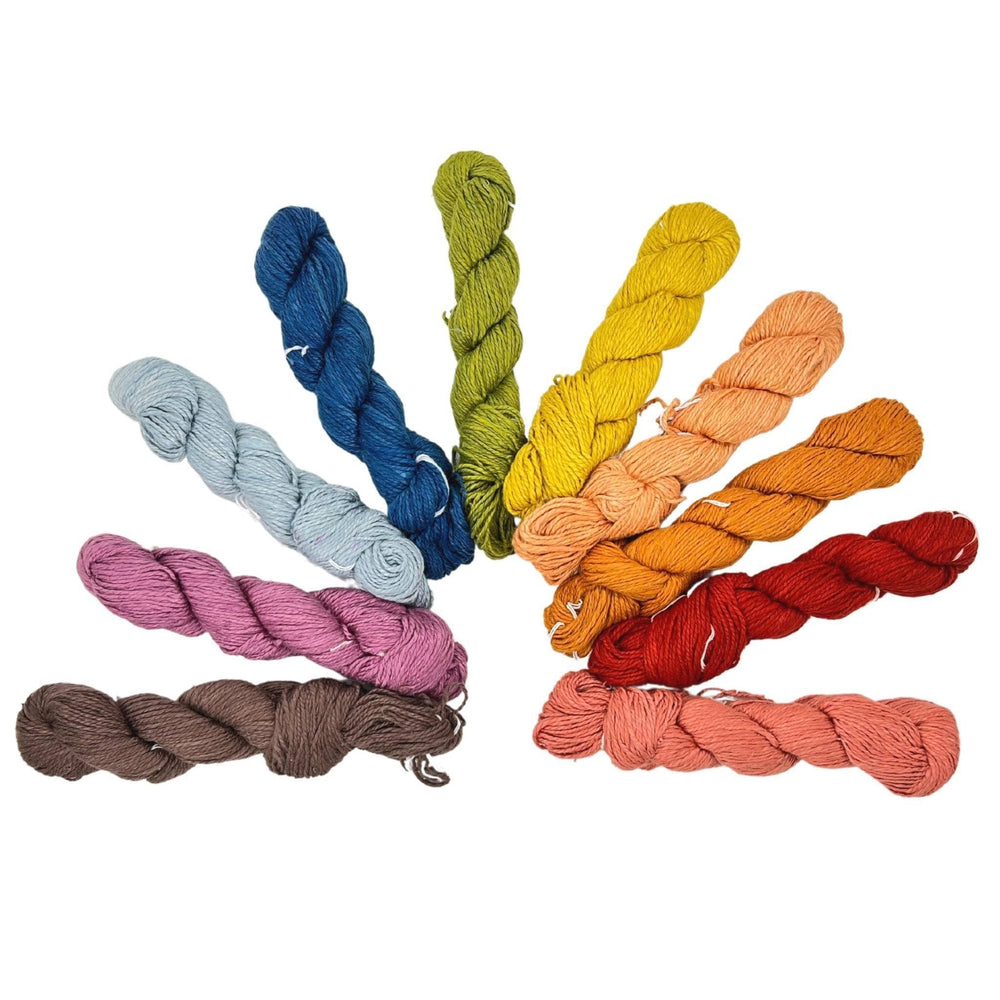
- Darn Good Yarn Lace Weight Silk Yarn
- Base yarn of your choosing. We chose some of our Single Ply Hemp Yarn
- Scissors
- Tape
Step 2

Cut your base yarn into a 60 inch length strand, fold it in half, and tie a knot at the fold, creating a loop. Tape the top of the loop down onto a table
Step 3

Cut 3 of your favorite colors from the Silk Cloud Sampler Pack into 60 inch length strands, and lay them horizontally under your base yarn
Step 4

Bring the top strand of Silk Cloud Yarn over all of the other 3 yarns on the right side (the 2 other Silk Cloud Yarns and the Base Yarn), and under the 4 strands of yarn (3 Wilk Cloud Yarns and 1 Base Yarn) on the left.
Step 5

Pull this strand tightly to the top and the left
Step 6

Repeat Steps 4 + 5 on with the top strand of Silk Cloud Yarn on the left side
Step 7

Repeat Steps 4-6 with one color, until you have reached the desired thickness for that color block
Step 8

Repeat steps 4-6 for each of the consecutive colors of the Silk Cloud Yarn
Step 9

You can repeat the color blocks as well!
Step 10

Tie a simple knot at the end
Step 11

You can slip the knot through the loop you created at the beginning, almost acting as a hook!
If that bracelet isn't your style, we have an even easier craft!
Here is our step by step guide for making a friendship bracelet. For this example, we used Darn Good Silk Chiffon Ribbon Yarn so that the colors could help you follow each step.
STEP BY STEP GUIDE - PDF DOWNLOAD
On the run? Download instructions for making your friendship bracelet here or scroll down below to watch our video tutorial.Ultra-Easy Scrap Yarn Friendship Bracelet
Step 1
It's time to gather your materials:
- 12-18'' of scrap fiber
We used our Silk Watercolor Chiffon Yarn because the colors blend well to this tutorial, but for bracelets we recommend using:
- Sari Silk Ribbon Yarn
- Windswept Sari Ribbon
- Block Printed Handmade Sari Silk Ribbon Yarn
- Neon Handmade Sari Silk Ribbon Yarn
- Chiffon Ribbon Yarn
Here's a bracelet made from our Sari Silk Ribbon Yarn for reference:

STEP 2

Arrange your strand of ribbon to form the shape of a bracelet (a circle), making sure that the ends of the strand overlap.
STEP 3

Loop one end of your strand of yarn over the other end, pulling it through the loop you just created (similar to tying your shoe!)
STEP 4:

Pull both ends of your yarn strand so that a knot is created. Don't pull too tight! You'll want the knot a little loose so that your friendship bracelet is adjustable.
STEP 5:


Pull one of the yarn strand ends to be a little longer than the other. Using the longer end of the yarn strand, repeat steps 1-3 by looping the end around the bracelet in progress.
STEP 6:

Pull the ends of your yarn strand, tightening the second knot you created. (Again, not too tight!) Slide the bracelet on your wrist and adjust the size of it by pulling the two loose ends.
Have any tips for making friendship bracelets? Share the love below.
Show us your friendship bracelets on social media by tagging @DarnGoodYarn!
 Rewards


