Lucky for us, fringe is back and it is staying! We've been adding more fringe to our new (and even some old) projects, like scarves, jacket sleeves, bags, vests, and blankets. Fringe doesn't take long to make or add to a project, so adding a fringey flair to your clothing and accessories is a quick and easy way to show your unique personality.

Step 1
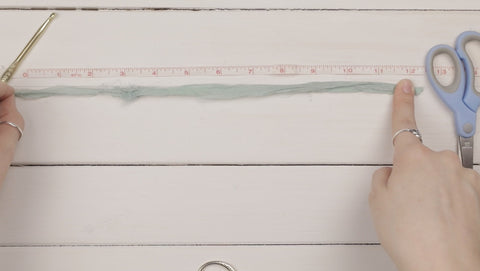
Lay your measuring tape flat and measure out 12” strips of yarn.

Step 2
Cut your strips to the right length. Repeat until you have at least a few strips.

Step 3
Insert the crochet hook into one of the loops on your cast on edge.

Step 4
Take one of your yarn strips and wrap one end around your crochet hook.

Step 5
Use your crochet hook to pull that end through the cast on loop.

Step 6
Pull the shorter tail of your fringe so that both tails are the same length

Step 7
Twist the yarn with your fingers to create a loop.

Step 8
Use your fingers to pull the yarn tails through that loop.

Step 9
Simultaneously pull the yarn tails (together) while pushing up on the knot. Repeat this process until you have your desired amount of fringe. Try doing this with multiple strands held at the same time for a thicker, more full fringe effect.
Looking for the pattern for this vest? Click here!
 Rewards


